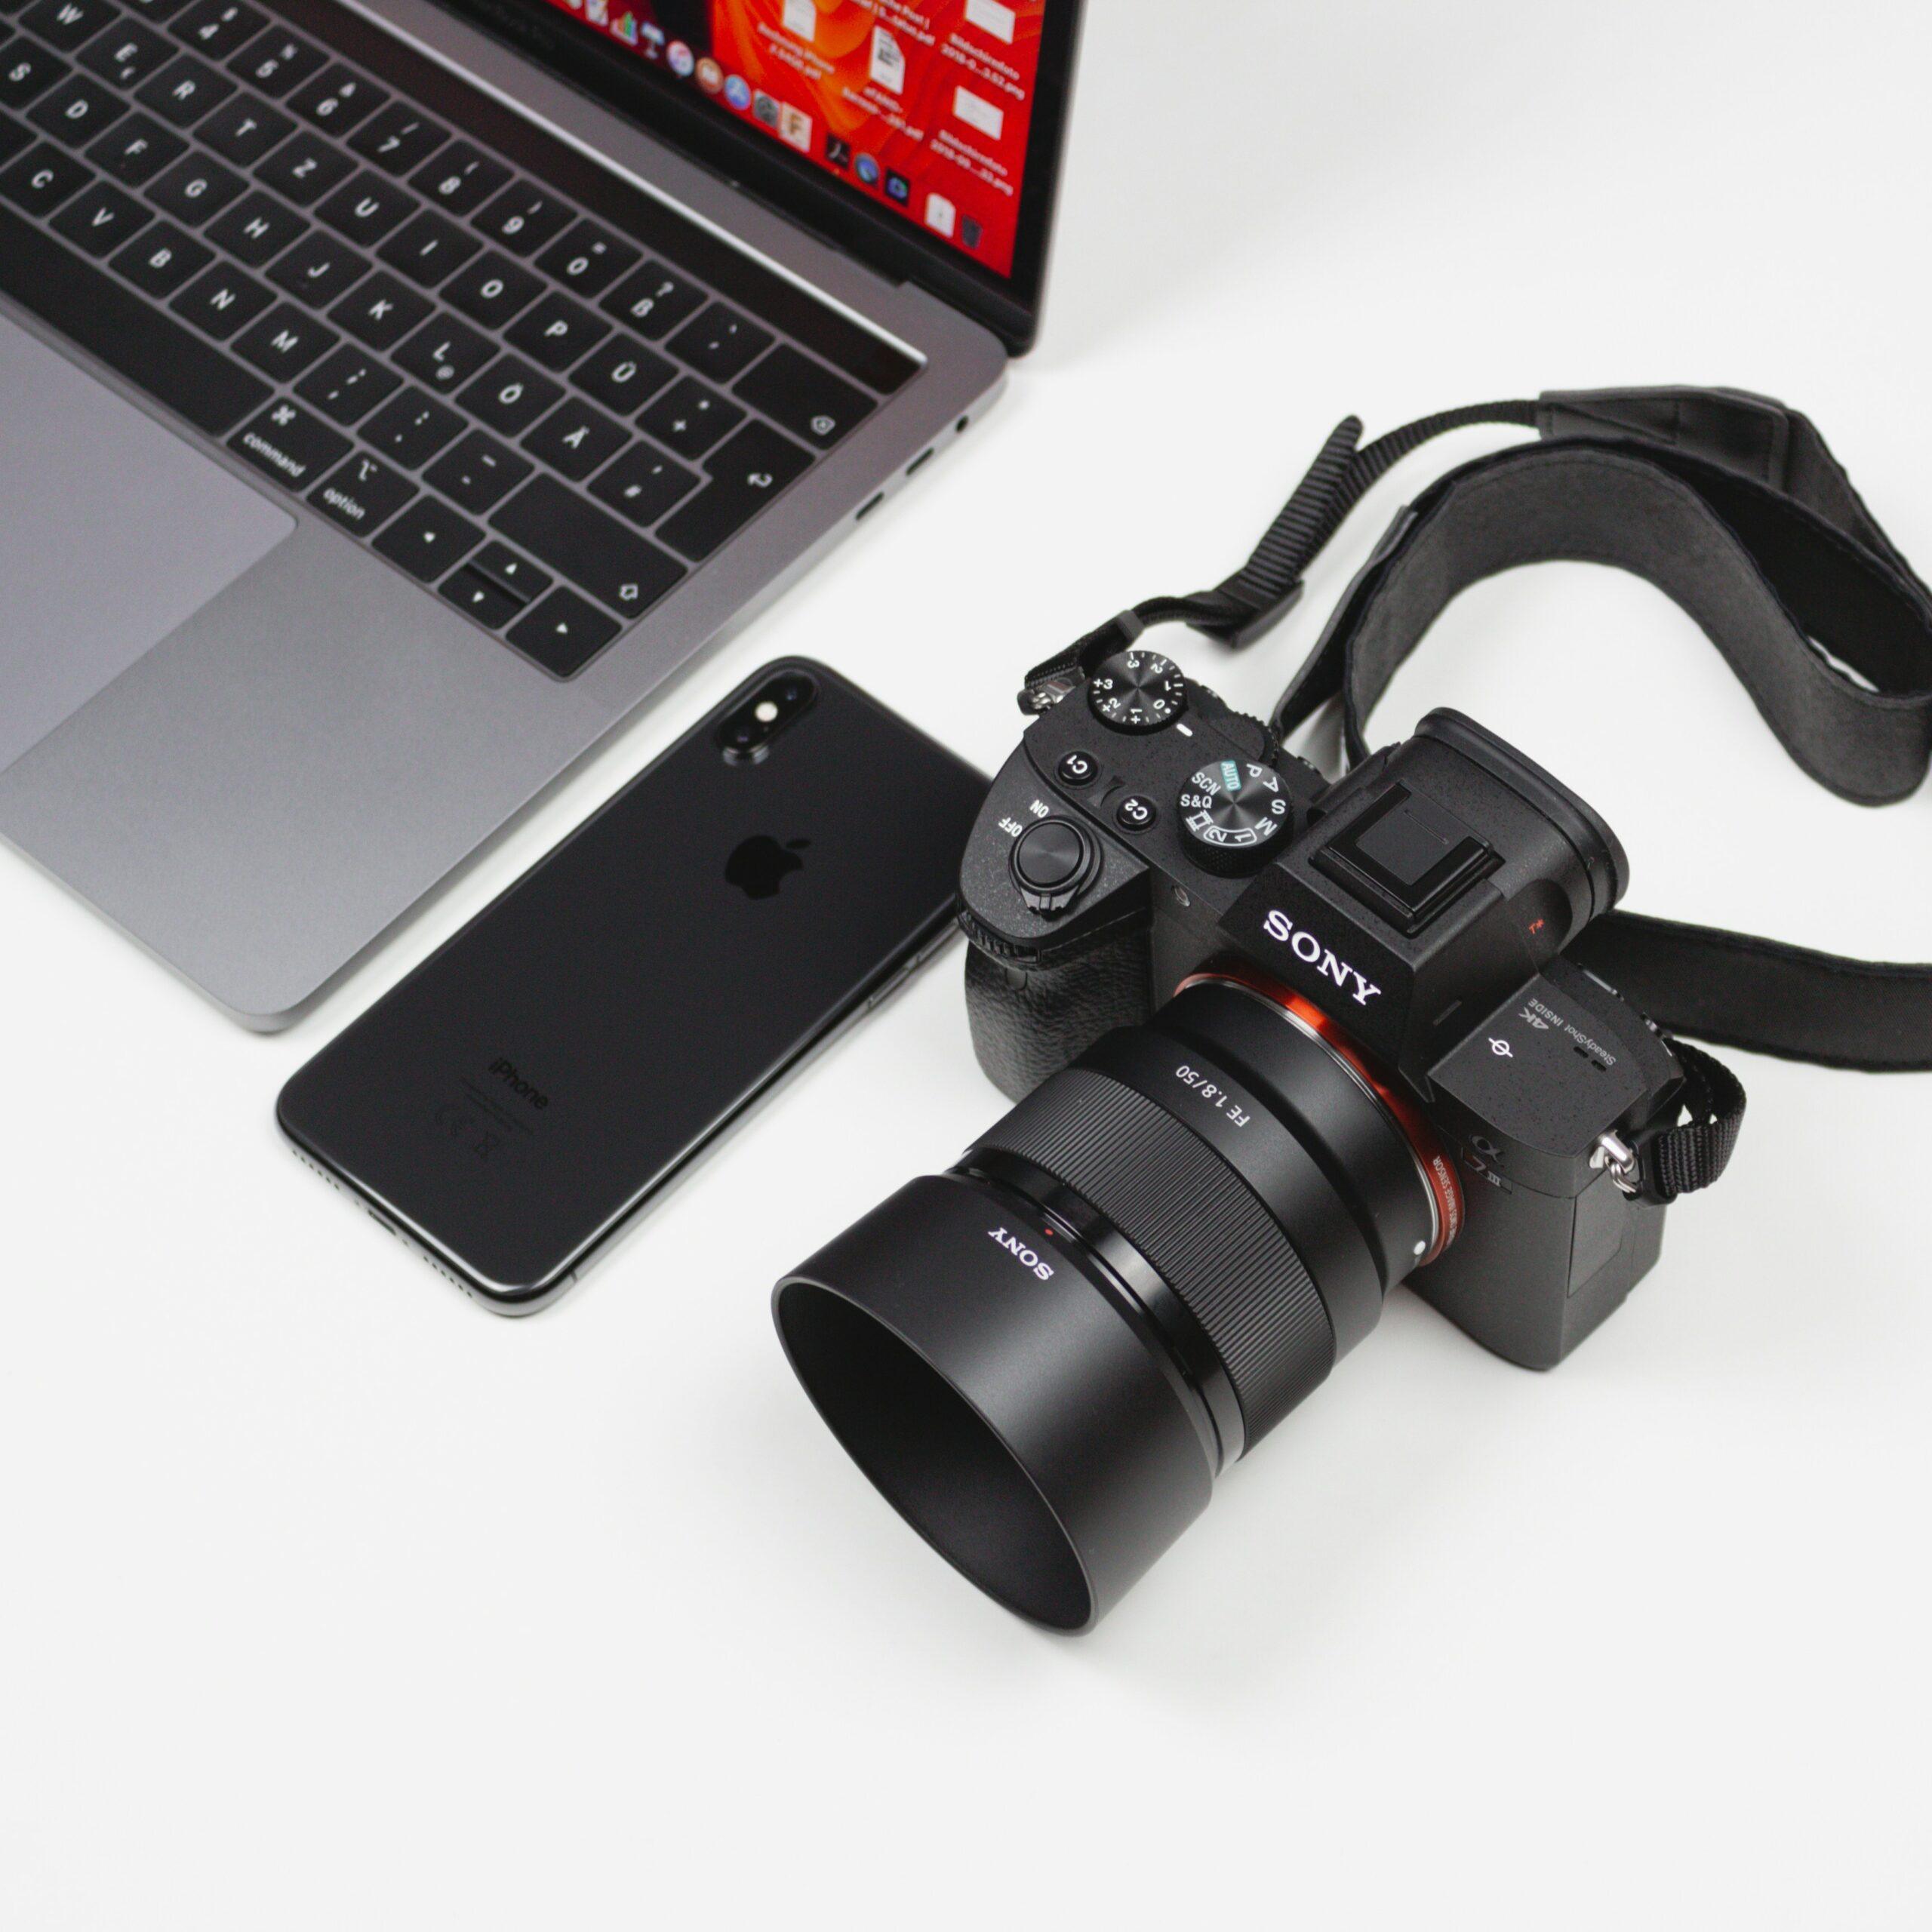
Do you want to take product photos at home using just your phone? But you have no idea where to start?
Or maybe, no matter how you take the pictures, they never turn out as good as you thought?
And you’re even blaming your phone for it?
To be honest, the problem isn't your phone. You don't need expensive equipment or fancy cameras.
You can take professional-quality pictures with your smartphone—it isn't as hard as you think.
All you need is the right technique and a bit of creativity.
With this simple step-by-step guide, you’ll learn how to take product photos with your phone, whether you are a beginner or not.
As a result, with your high-quality images, you can increase your sales by at least 30%.
So, let’s get started!
Prepare Your Space for Better Photos
Clean the Background
First of all, the space where we are shooting should be clean and simple. Our main goal is to keep the focus and attention on our product. So, we have to remove any distractions.
If you don't want to spend too much time on the background, you can prefer simple and safe options:
- White or light-colored background paper—for a clean and minimalist look.
- Marble-patterned vinyl—subtle touch of elegance.
- Neutral-colored fabric— to soften the scene.
But if you think “Naaah, it's too plain. I want a bit more texture.”, no need to overthink. You can easily create a rustic background with your everyday items:
- Wooden table
- Linen fabric—for natural texture
Find Good Lighting
Okay, our background is ready. Now we can focus on the proper lighting. This step is crucial because blurry and dark photos are a nightmare.
You can use natural light from a window. That will give you soft and diffused light. Or, you can use studio lighting, a selfie ring, or a softbox for controlled brightness.
If you take the chance to use window light, you have to be careful. Yes, it can provide illumination, but direct sunlight may cause glare and shadows. And believe me, we don't want these.
But don't run to order lighting equipment right away. We can fix and optimize that glare with a few tricks:
- Make sure you are near a large window.
- Prefer an early morning, late afternoon, or even a cloudy day for shooting. That will give a softer light without glare.
- You can use a white/black cardboard or aluminum foil as a reflector to reduce shadows. (
Set Up Your Workspace
Your shooting background is ready, and the lighting is set. Now it's time to organize the shooting area.
We should choose a stable surface or table to avoid vibrations during the shoot.
For the best shot, you can use a height-adjustable tripod to position your phone. The perfect angle will be a 45-degree angle from above or eye level.
No tripod? No problem! Just stack some books and secure your phone with tape—an old-school way. (That works every single time!)
Set Up Your Camera for Best Results
Now let’s configure your phone’s camera for optimal quality. We’ll adjust basic settings for resolution and focus.
If you haven't done it before, don't worry. I will give you step-by-step instructions:
- Grid Lines: Firstly, you should enable grid lines on your phone’s camera. Because we want to strengthen your shot and compose your frame effectively.
- Go to Settings → Camera → Turn on Grid.
- With this, you’ll place the subject in one-third of the frame, leaving the remaining two-thirds empty. (Rule of Thirds)
- HDR Mode: You should turn on HDR to capture details in both bright and dark areas.
- Settings → Camera → Formats → Select "Most Compatible."
- This setting is especially useful for capturing jewelry or reflective surfaces.
- Focus/Exposure: This is very easy to do. Just tap on the most important part of your product to focus—the logo or texture.
- Long press to lock to focus and prevent automatic adjustments.
- Also, slide the brightness to find the optimal lighting.
Photograph Your Product Effectively
Play with Composition
Compensation is all about creating a visually pleasing arrangement of elements within the frame. With this, we can create more appealing photos to the eye and leave a good impression on people.
How are we gonna do this?
- Make sure you fill the frame; in other words, you can take close-up shots.
- Emphasize details like fabric texture, patterns, or color.
- Leave some negative space for text or graphs for explanations, if needed.
Shoot from Multiple Angles
At the end of the day, we want to attract customers, right?
So, show your product from all possible angles to give them a comprehensive view. Front, side, and close-up shots help customers visualize the product in 3D.
- Flat lay (top-down): Ideal for small items like food, drinks, or accessories.
- 45-degree angle: That angle is often used in e-commerce to create a sense of depth.
- Macro mode: This is perfect for capturing small details of jewelry or handmade crafts.
Pro Tips:
- Shoot in RAW format for more flexible editing and filtering.
- Use a timer or voice commands to avoid blurry shots. (Make Siri your assistant)
Edit Photos for a Professional Look
Now that you’ve taken your photos, it’s time to give them the finishing touch—EDITING. Proper editing is essential to fine-tune brightness, contrast, and sharpness.
If you need some easy-to-use editing apps, I will give you my favorites:
- Snapseed (for adjustments)
- VSCO (great filters and presets)
- Adobe Lightroom Mobile (best for color correction)
With these apps, you can adjust lighting/shadow settings, apply subtle filters for a natural look. You can even add texts or effects for social media.
Be Careful Though!
- Increase brightness and contrast little by little to enhance vividness.
- Sharpen details but don't overdo it.
- Crop the photo to standard sizes to maintain quality when uploading.
- Instagram → 1:1
- Pinterest → 2:3
- Web → 16:9
Share Your Photos Effectively
Congratulations! You’ve taken amazing photos. I'm proud of you!
Now it’s time to showcase your product on social media to attract customers.
You can share your photos on multiple platforms. Don't forget to use trending hashtags in your niche to increase visibility.
- Instagram: You can create collages from multiple angles.
- Etsy: Products with a white background generally catch more attention.
- Your website: Use tools like TinyPNG to compress images before uploading. Or you can use a JP to WEBP converter for high-quality pictures.
Before publishing your photos, make sure to use the same filter on all of them to maintain consistency with your brand identity. You can even add a small logo or watermark.
Last Suggestions
If you need inspiration, check out accounts of similar products and see how they present their photos. It's important to create your own style, but observing others can spark new ideas.
Get feedback from customers (A/B testing) to learn which photos attract the most attention and which ones fall short.
That’s it! Not as hard as it seemed, right?
Once you follow these essential tips, taking high-quality product photos with your phone becomes simple.
With a clean and simple background, proper lighting, professional camera settings, and a bit of editing, you’ll create eye-catching images that can help boost your sales.
Practice a few times, and you’ll see quick improvements. Now, grab your phone and start shooting beautiful product photos. Your customers will definitely notice the difference!
P.S. If you have more tips on taking great product photos with just your phone, share them with us in the comments! I’d also love to hear your thoughts on this post.
Check out my previous post here: What To Pack For A Northern Lights Trip (Thermal Layering Hack)
See you in the next post—xoxo!
Follow me on Pinterest💕


