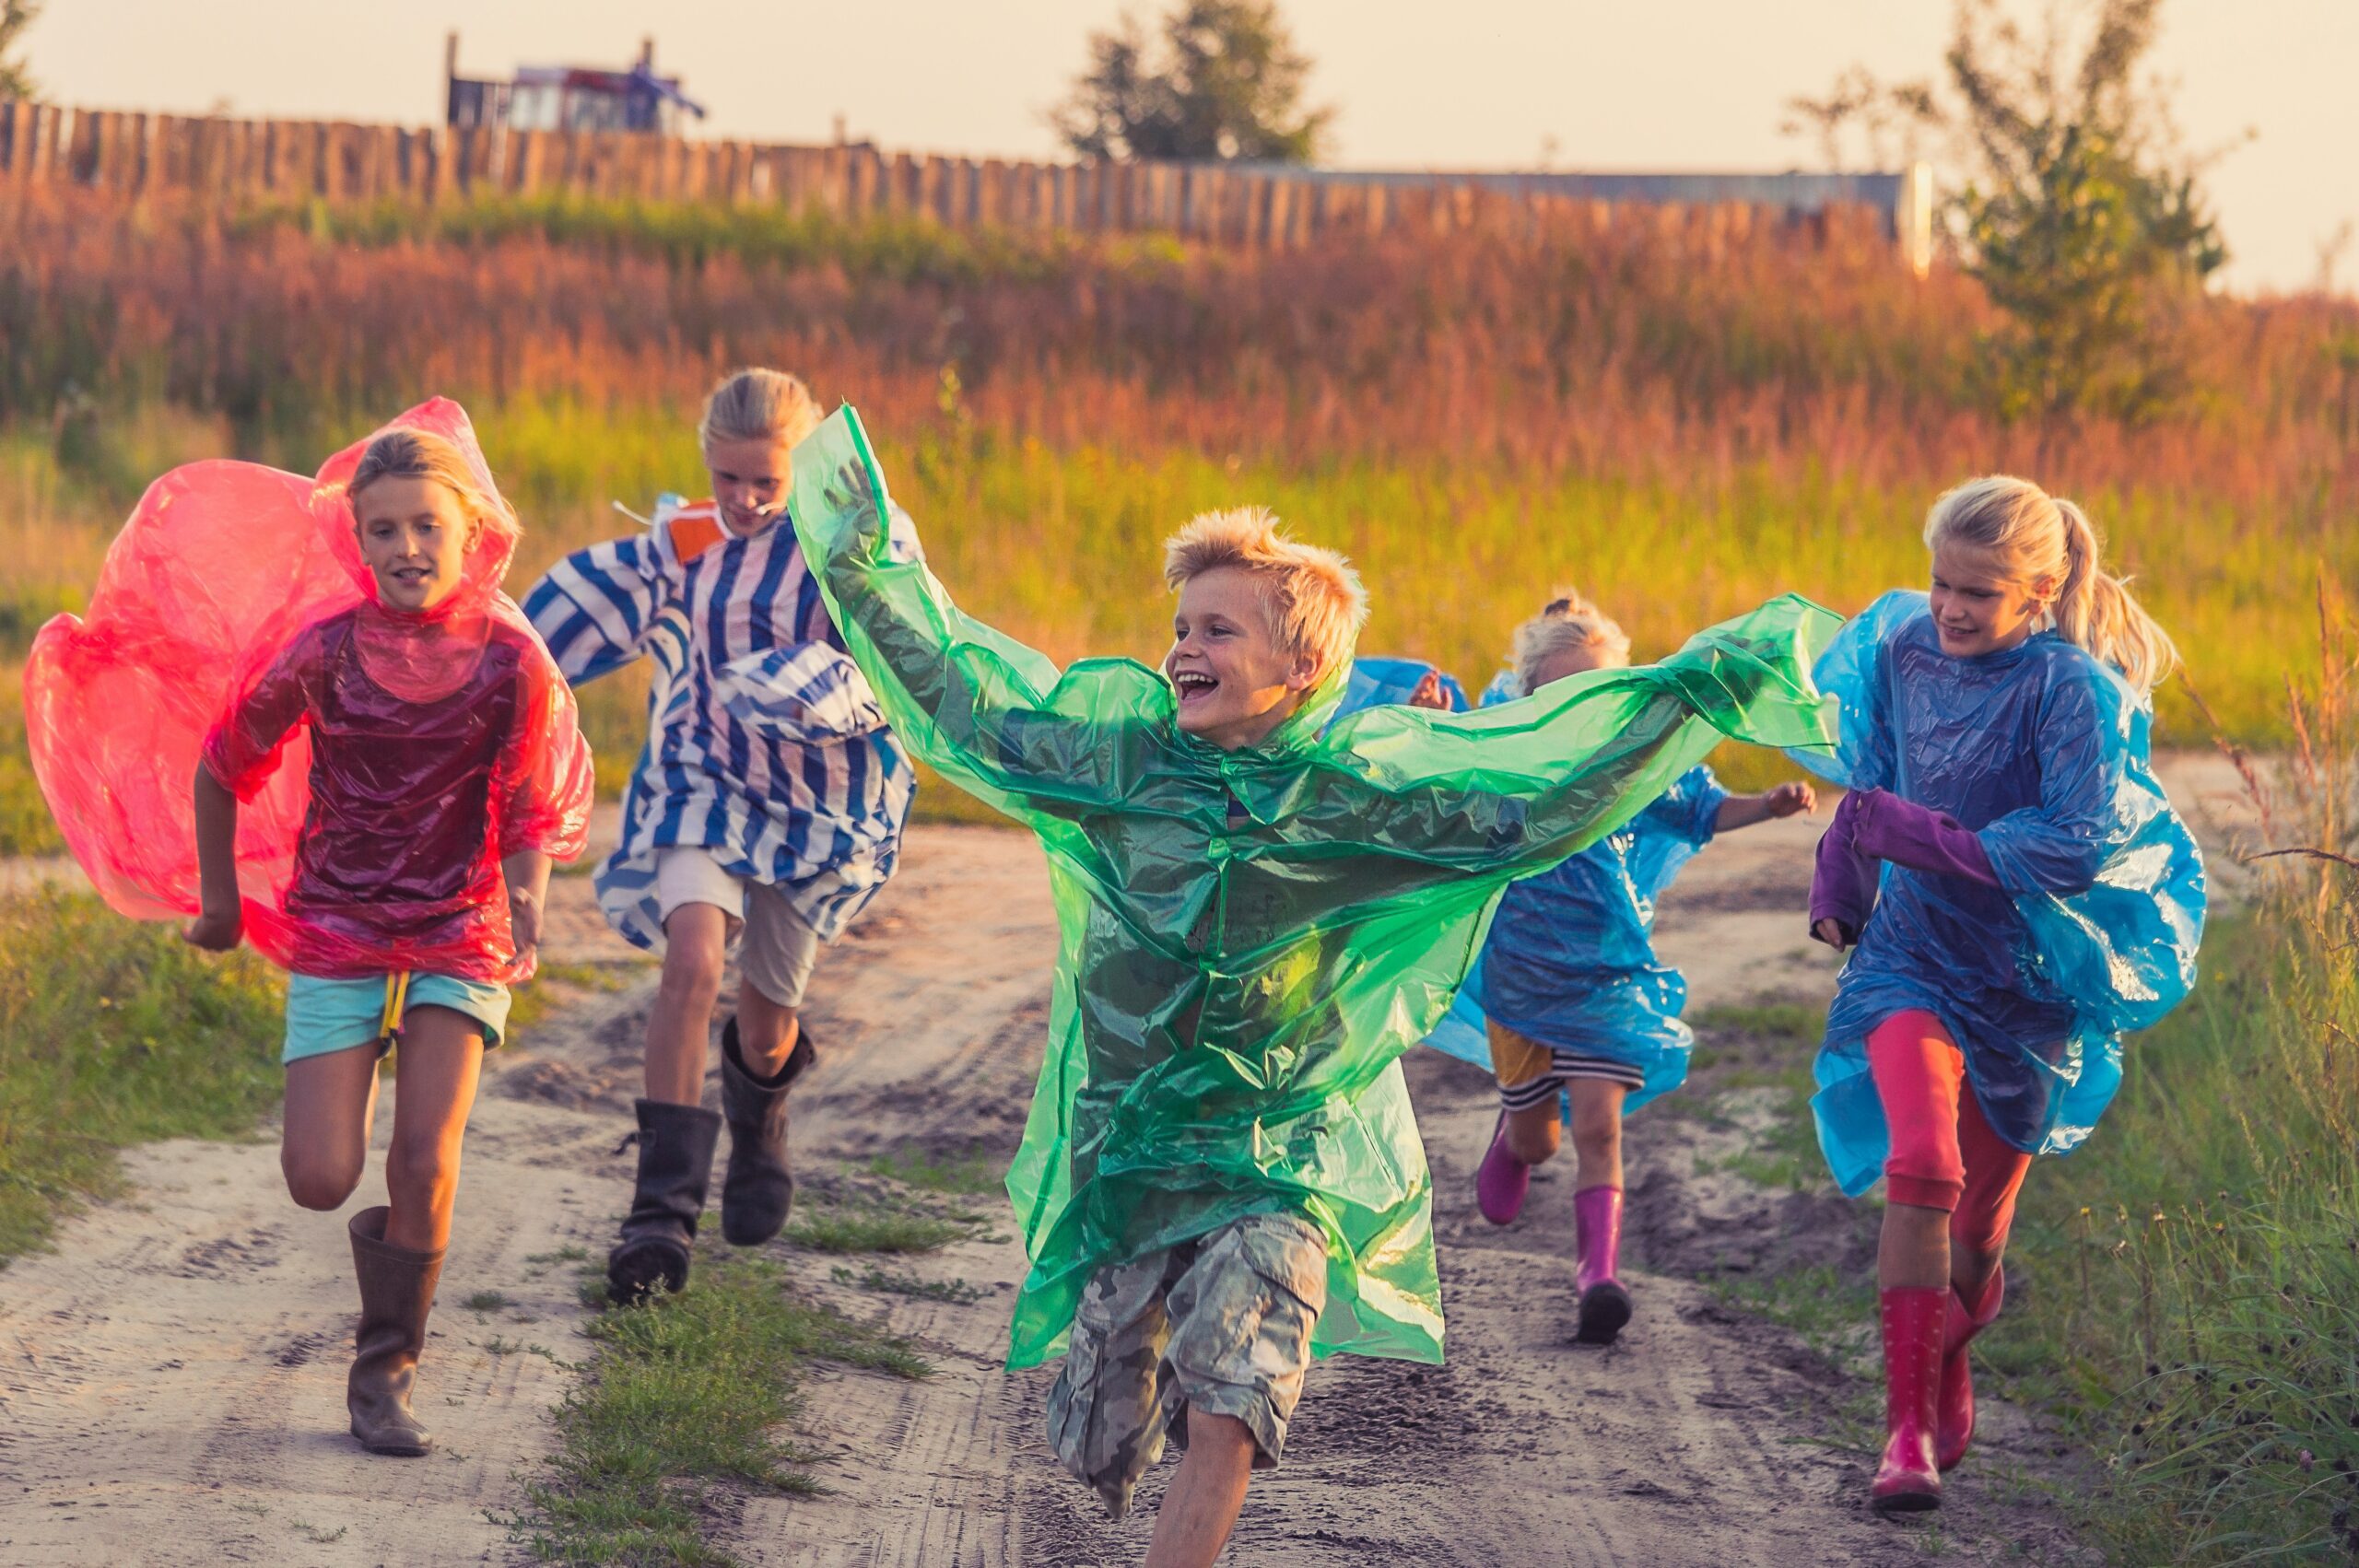
Capturing real, joyful, spontaneous moments with children and pets helps us turn these moments into memories that we will cherish for a lifetime.
Yet, freezing these moments and taking sharp action shots can be frustrating.
Blurred faces, confused expressions, poor lighting, and unpredictability are the biggest obstacles that prevent us from portraying these moments clearly.
Is there any secret to fixing that?
Of course, there is—preparation, technique, and patience!
By the end of this article, you'll know the best camera settings, lighting tricks, composition rules, and post-processing tips to capture sharp, vibrant, and emotional action photos every time.
So, let’s dive in!
Section 1: Prepare Your Equipment for Success
Choose the Best Camera Settings
Freezing the motion is all about setting the right shutter speed.
So, our manual settings order will be: first the shutter speed, then the aperture, and finally the ISO.
Or, you can simply use the shutter priority mode.
With this mode, you set only the shutter speed.
And your camera will adjust the aperture and ISO to get properly exposed images.
Shutter Speed:
The camera only needs a fraction of a second to take the shot: 1/30, 1/60, 1/125, 1/8000.
That changes according to the movement or speed of your subject. So, for this specific situation:
- Set the shutter speed to a minimum of 1/500 for children playing or running, or 1/1000 or higher for extra sharpness.
- For capturing fast-moving pets (dogs or cats), use a shutter speed of 1/1000 or faster.
Aperture:
A wide open aperture (lower f-stop) gives you more clarity on your subject while a shallower depth of field. (aka blurry background)
- If you have a one-subject (kid or pet), set your aperture between f/2.8 - f/4 for creamy bokeh.
- But, if there is more than one subject (child + dog), increase the f-stop to f/5.6 - f/8 to capture both of them clearly. Otherwise, one of them will be out of focus.
Pro Tip: A wide aperture can cause focus errors; to avoid that, use back-button focus.
ISO:
ISO is the light sensitivity. Set the lowest ISO (100 for most cameras) on sunny days and increase it as needed in low light.
- For crop sensor, keep your ISO ≤ 1600 and ≤ 3200 on full-frame.
- In dark interiors, increase your ISO to 6400 or more.
However, high ISO can cause noise in photos, so you'll need to correct this during editing.
Select the Best Gear for Kids and Pets
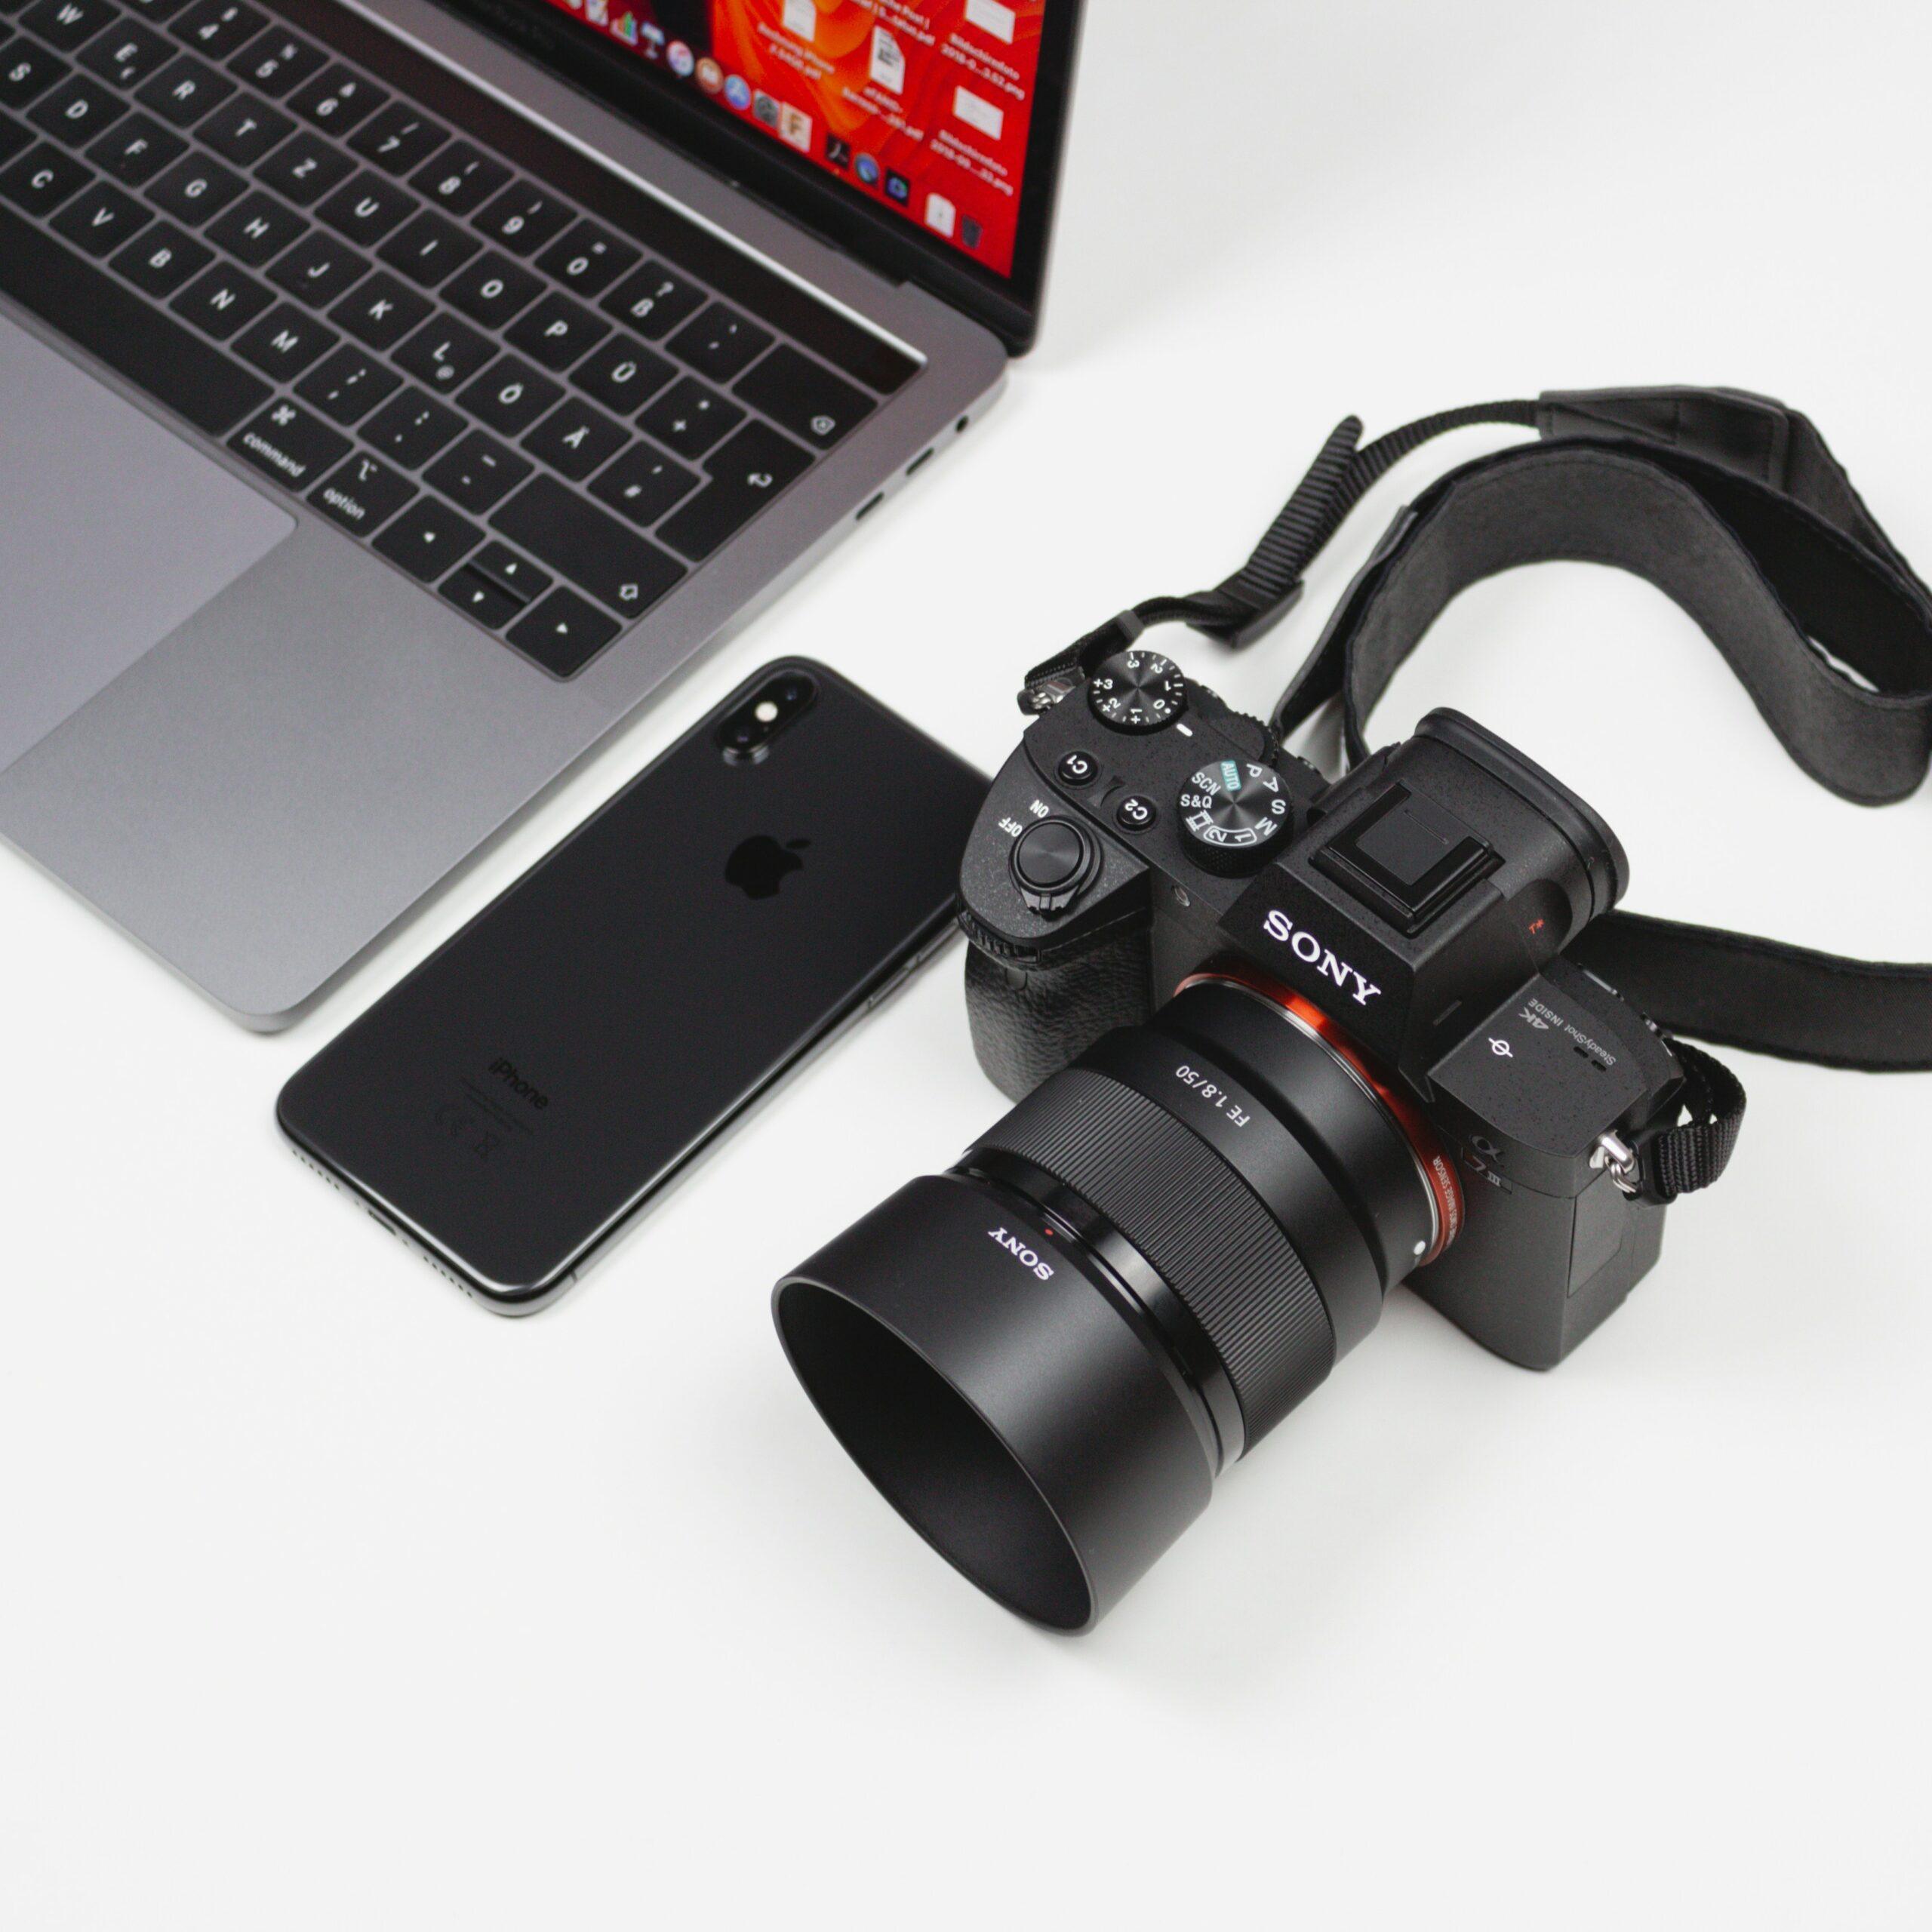
If you don't have a camera or the right lenses and are looking for a recommendation to invest in a professional one, you can consider these:
Cameras:
- Sony A7 IV: For one of the best autofocus tracking systems.
- Canon R6 Mark II: Great for fast-moving kids or pets.
- Fujifilm X-T5: Lightweight, fast burst mode, and a more budget-friendly option.
Lenses:
- 50mm f/1.8 is more affordable than other prime lenses and great for portraits.
- 70-200mm f/2.8 is great for zooming in on distant actions.
- 24-70mm f/2.8 is a versatile option for both indoor and outdoor.
Essential Accessories
The first and foremost thing for shooting continuously or in burst mode is memory cards like UHS-II cards (300MB/s+).
You need extra batteries for longer sessions because they drain faster than you would imagine.
If you talk with a professional photographer, he/she would say that: Carry at least 3 batteries with you, one in a charger, one in your pocket, and one in the camera 😁
Finally, use a lightweight and sturdy tripod or monopod to stabilize moments like a running toddler.
Section 2: Master the Art of Lighting
Use Natural Light Effectively
To master the art of lighting, you have to use natural light effectively.
The best times to photograph are 1-2 hours before and after sunrise and sunset.
These golden hours provide soft, warm, and directional light.
Even overcast days are better than harsh midday sun, because unlike the midday sun, there are no harsh shadows that create unflattering shadows and can be used as nature’s softbox.
Manage Indoor and Low Light Conditions
If you’re shooting indoors, try to position your subject 45° to a large window for even lighting and depth.
Moreover, to diffuse harsh sunlight coming through the window, use white foam board or a bedsheet as a reflector for DIY bounce light.
If you’re in a low-light situation, you can use flash, and to avoid harsh shadows, bounce the flash off ceilings or walls.
Or, you can use a reflector (a white poster board) to fill in shadows.
Consider using fast lenses with wide apertures (f/1.4 - f/2.8) and carefully increase the ISO to brighten shots and perform better in dim light.
Avoid Common Lighting Mistakes
If you’re backlighting your subject, use fill flash or expose for the face.
Don't mix the lights, stick to one light source—turn off lamps if using window light.
Keep the light source consistent to perform smoothly.
Section 3: Get the Perfect Shot Technique
Focus (Pro Techniques)
First of all, focus on the eyes and faces—sharp eyes bring photos to life.
Therefore, use Animal Eye AF or Single-Point AF to lock onto eyes—most Sony and Canon cameras have that feature.
To lock focus while recomposing, use back-button focus—you can set it in your camera settings (learn how to do it depending on your camera).
Capturing Movement (Action Tips)
Enable Burst Mode to take multiple shots quickly and ensure you don't miss the perfect moment—10+fps is ideal for most cameras.
Try to predict their action to prepare shot timing.
Encourage your child or pet to do activities with toys or rewards to create spontaneous moments.
Composition (Advanced Framing)
- Open the grid lines to use the rule of thirds effectively for balanced images.
Simply put, use two horizontal and two vertical grid lines on the screen and place your object at the point where these lines intersect or on these lines.
- For a more intimate perspective, kneel and take eye-level shots.
- Keep the background simple to avoid clutter distracting from the subjects.
- Use negative space by leaving room in the direction of movement.
- Use paths or shadows to create a leading line to guide the eye to the subject.
Section 4: Tips to Keep the Kids and Pets Comfortable
Create a Relaxed Environment
For easier, comfortable, and enjoyable shooting, let your kids or pets explore and become familiar with the area beforehand.
You can do this by using familiar toys or treats as incentives to keep them engaged.
In other words, play first, shoot later to capture natural joy. Even consider using squeaky toys behind the camera for genuine reactions.
For your pets, you can bring their blanket to provide a familiar scent and help reduce their anxiety.
And keep shooting sessions short (15-30 mins) to prevent fatigue.
Patience is Key
Remember, as in everything, patience is key. Just wait for natural expressions and candid moments instead of forcing poses or stunts.
Be ready to shoot between activities or at any spontaneous moment, like when a dog pauses to pant.
Involving Parents and Pets in the Process
Parents know their children's every expression and how to get them to do it, so get their help to capture genuine smiles, laughter, and interest; even make funny noises.
For pets, owners can hold their favorite treats near the lens or use familiar handlers to direct attention.
So, teamwork is essential for the best and desired results.
Section 5: Post-Processing for Sharp and Vivid Photos
Basic Adjustments
- Boost or correct exposure and contrast to enhance clarity.
- Sharpen images carefully and selectively for details, but avoid overdoing it.
- Adjust white balance for more natural skin tones and to match lighting conditions.
Removing Distractions
- Crop the image to get rid of unnecessary background clutter (e.g., stray toys).
If you have a high megapixel camera, it's easier to crop the image without compromising quality.
But keep the edits natural and don't overdo it: bring out the colors, perhaps increase the contrast and saturation for creative images.
Tips for Sharing and Saving
- Export photos in high-res JPEGs for prints.
- Create online galleries, portfolios, blogs, or prints to share your craft.
- Always back up original RAW files to avoid loss and preserve editing flexibility.
By now, you've learned that taking clear and great action shots requires the right equipment, proper settings, lighting, timing, planning, patience, and most of all, practice.
Just remember to keep your subject comfortable for spontaneous moments, and post-process with care for the best results.
Now it’s your turn! Start with these tips, experiment, and soon you’ll capture sharp, lively photos of kids and pets effortlessly.
If you liked this post, you can check out my previous photography post here: Posing Ideas to Make Your Brand Shine: Stand Out in a Crowded Market.