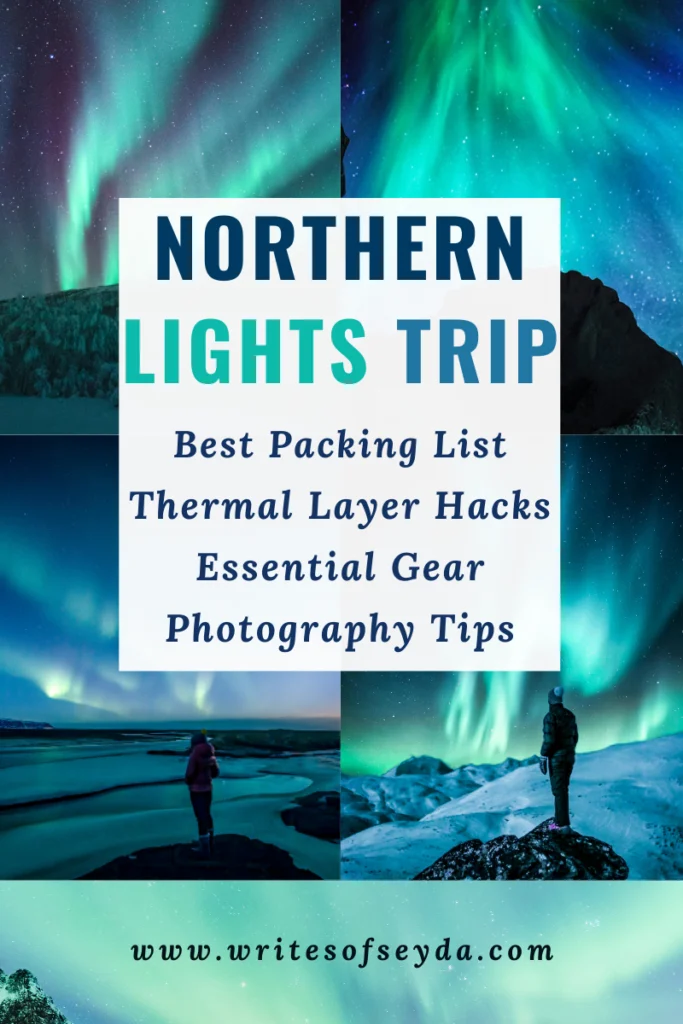
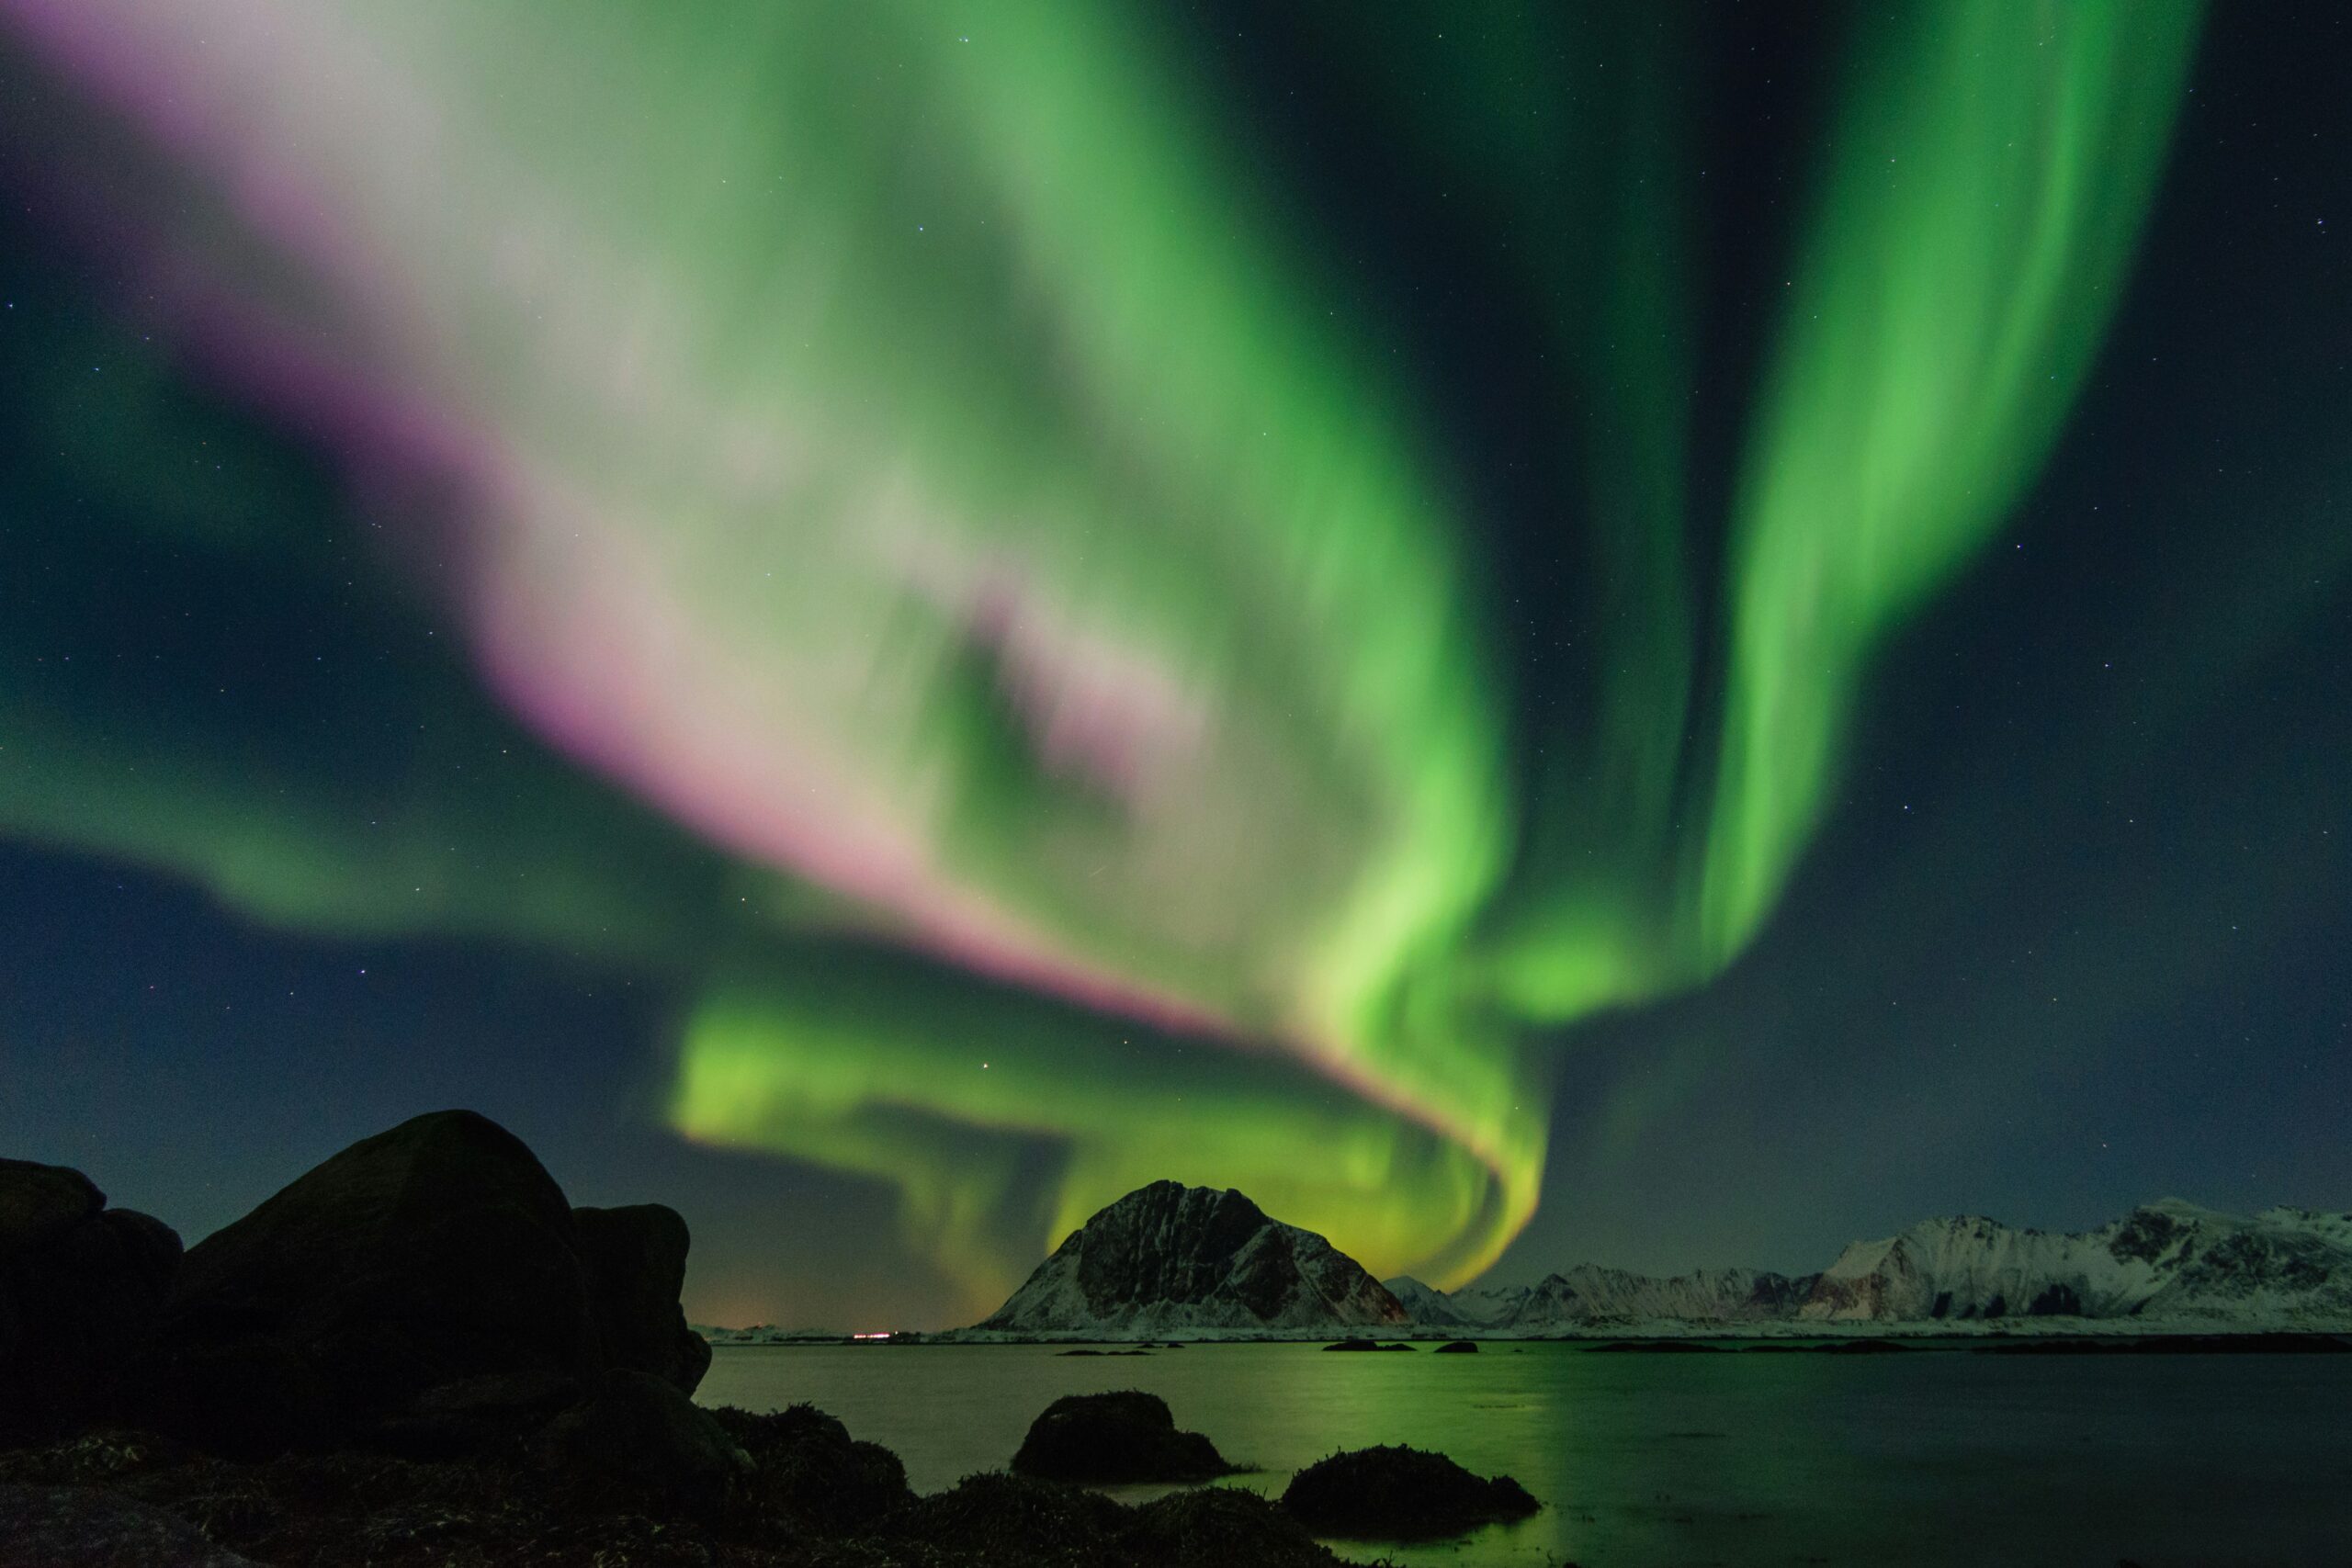
A trip to the Northern Lights! Ah, it sounds like an exciting and unforgettable dream.
Since you are here, I assume you plan on this adventure, but probably don't know what to pack.
Don't worry, I’m here for you!
You don't need to take all your clothes to keep yourself warm. But you need to be careful and smart about your preparation.
In this post, I’ll show you step-by-step instructions on what to pack to be light and ready for a Northern Lights trip.
I’ll share tips and tricks to stay warm, maximize your trip, and increase your comfort.
Finally, you’ll find photography tips to capture the beauty of the Aurora. As I said, we’ll cover everything you need!
Let's get started!
Thermal Layering Hack
The first step of the “keeping you warm” mission is choosing the right clothing.
We are gonna use the layering method. With this method, you will wear three carefully selected layers—base, insulation, and shell.
I can almost hear you saying, “I can't stand wearing too many layers!”—but you don't want to freeze, right?
Yep, that’s what I thought.
The base layer will be your underwear, but a special kind of underwear.
Moisture-wicking thermal underwear made of merino wool or synthetic thermal tops and bottoms.
This will keep sweat away from your skin. And also prevent any kind of irritation.
If you think, “Oh, how can I find the right one?”, there are many famous brands.
For example:
I highly recommend investing in a good merino wool base layer like this one; it's very stretchy, comfortable, and also seamless.
The mid-layer is one of the most important layers. This layer will make you as warm as possible.
So, you should prefer insulating clothes like:
- fleece jacket
- down/synthetic puffer jacket
- wool sweaters
High-quality fleeces are lightweight, so don't worry about bulking.
This zip-up jacket and wool pullover are my favorite ones; very cozy, and the colors are so cute❤
And lastly, the shell layer. This layer will protect you from snow, rain, and wind.
You should look for a breathable, waterproof, windproof jacket and snow pants.
Preferably made with Gore-Tex.
You can look at these brands:
And that’s it! You layered yourself up. Let’s move on to other essential clothing items.
Essential Clothing Items
The main goal is to pack as light as possible. But we cannot leave our sweet and warm home without taking these arctic trip essentials.
We have wrapped you up!
But some parts of you are still exposed to the cold—your head, neck, hands, and feet.
You can fix that easily.
You can wear a ear warmers, polar-lined beanie, or wool hat. This will prevent heat loss from your head and keep your ears warm.
If you don't want to freeze your fingers, take your gloves with you.
But special thermal gloves—insulated, waterproof, with a thin inner layer.
A little extra tip: To use your phone easily, you can look for touchscreen-compatible gloves.
It’s time for the neck.
Don't even think about wearing old school scarves. They will be your best enemy.
Especially when it gets wet, it will freeze instantly.
Instead, you can prefer a versatile, lightweight, wool neck gaiter.
In extreme wind, you can also pull up to cover your face.
It’s a win-win situation.
And lastly, like our dear grandmothers always say, “Keep your feet warm!”.
You love ALL the ten toes you have, and you want to keep them that way—I assume.
Then listen:
You’re gonna wear a specific kind of socks, and that will be merino wool socks.
These socks will keep your feet warm and dry. So don't hesitate to bring an extra pair of them.
You can guess what I will mention now: BOOTS. No matter how thick your socks are, with the wrong shoes, they are useless.
Sturdy, waterproof boots with good traction will be the best choice you will ever make.
You can start your search with these brands:
Must-Have Equipments
Okay, we’re all bundled up—warm, comfy, and happy.
Now, let’s talk about the equipment that makes your trip easy.
If you’re the type of person who packs “just in case”, you can relate.
You want to take amazing Aurora pictures, right? But here’s the truth: at some point, your hands will betray you. They start to shake like crazy.
No one wants to blur pictures, so you need a sturdy and lightweight tripod.
The next thing you need is a headlamp with a red-light setting. Just stop for a second and think about it.
You are in the North. Everywhere is slippery and filled with ice and snow. Especially in the dark, you need to see your way.
If you don't want to carry a flashlight with your hands, it’s a MUST.
And, of course, extra batteries and a portable charger—fully charged. So you can avoid searching for outlets and waiting for a charge. (We all know how frustrating that is.)
Safety and Comfort Items
God forbid, but accidents can happen.
Maybe we can't prevent it, but we can reduce the damage when it happens.
For example, you can prepare a small emergency kit with band-aids, antiseptic wipes, and prescription medications.
Who knows, you may become your group’s hero!
Don't say I didn't warn you, but in the cold weather, you get hungry faster.
You should bring high-energy snacks, protein bars, and a thermos with your favorite warm drink. (tea, hot chocolate, or COFFEE)
Put all of them into a foldable backpack, and get yourself comfortable.
You can fit a small, portable blanket in there, too, for extra warmth.
Maybe you think I’m exaggerating, but you can squeeze hand and foot warmers into your backpack. (Just sayin.)
- Zippo or Electronic ones
And also, please don't trust your pocket to store your important documents—passport/ID, travel insurance, and printed reservations.
I know you wear three layers of clothes, but still, you have to use a waterproof pouch to protect them from getting wet.
Oh, I almost forgot, take lip balm and moisturizer with you.
You can even take your travel-size moistrizing kit with you to be ready for any situation—cold air dries your skin instantly!
Essential Gear and Photography Tips
You are almost ready. But we didn't talk about tech items you will take with you.
I know you want to make everyone jealous with your Northern lights photos—your friends, relatives.
Just accept it!
So you don't want blurry, dark, or low-quality pictures. I will give some tips on how take amazing shots and increase your chances of capturing Aurora.
Firstly, you should download a reliable Aurora forecast app on your phone. Think of this as a weather app.
But this time, you don't look for rain. You are checking the lights.
According to most of these apps, Aurora activities peak between 10 PM and 2 AM.
Now, I assume we catch the lights. So let's prepare our camera for beautiful shots.
If you don't use your phone, you can choose a DSLR or mirrorless camera with autofocus, manual settings, and large memory.
PRO TIPS: (Thank me later!)
- Wide-angle lens, 14-24mm
- ISO 800-3200 for light sensitivity
- f/2.8 aperture
- Shutter speed of 5-25 seconds
Lastly, a portable Wi-Fi hotspot. Probably, you’re gonna travel in remote regions. And we are all addicted to the internet. So we should take it with us wherever we go. (You know I am right.)
And that’s it. Zip your baggage, you are READY to see the Northern Lights.
You packed everything you need:
- You layered up!
- Essential clothes
- Must-have equipment
- Safe and comfort items
- Essential gear
With these tips, I guarantee a comfy and excellent trip. I hope you will return with amazing photos and great memories—and of course, with all twenty fingers:)
P.S. If you have extra tips for the Northern Lights trip or ideas for my next post, comment. I’d love to hear from you!
Don't forget to follow me on my Pinterest account, too. See you in the next post—xoxo!
